On account of its ease of use and its large community, Joomla! has been able to place itself at the forefront of CMS. It allows anyone to build a website without needing to know a bit of code. Likewise, its free and open source nature reduce the costs of creating a website. So if you have to opt for Joomla! To set up your site, this article will serve as a guide your Joomla installation on your web hosting.
Essentials for installing Joomla!
Before describing the Joomla installation process, we will mention the elements you need to have to perform this operation in peace. Indeed, without it you cannot do anything.
- Acquire web hosting compatible with Joomla !
- Have a FTP client. FTP is a protocol responsible for transferring files. Several FTP clients exist on the market, the most popular of which is Filezilla.
- The information of FTP connections to your web hosting. Web hosting companies generally provide this information at the time of purchasing a plan. However, if you have forgotten them, you can always request it from your host. There are four parameters: host, username, password and port.
- Joomla! Installation files, downloadable from the official Joomla! website.
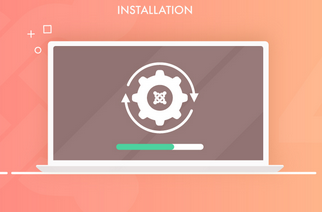
How to install Joomla
The installation of Joomla can be accomplished in a number of ways. Thus, an FTP client is not always essential. On web hosting management panels such as cPanel, an interface exists to upload files without the need for an FTP client. In addition, several tools called auto-installers, allows you to install various software in a few clicks. The tool available on your hosting will therefore depend entirely on your host. This article will be of use to those who want to know the process of a manual installation or who do not have the tools listed above.
Manual installation of Joomla via FTP
The installation process of Joomla! remains fairly simple, such as installing any software on your machine. In this case, the machine is your web hosting. For this purpose, we will transfer the installation files of Joomla! on web hosting. The FTP client therefore comes into action here. Connect to the hosting from the FTP client using the login credentials retrieved. Then, identify the public folder of your hosting, usually public_html or www to which to transfer this archive. This operation may take some time depending on the quality of your Internet connection.
After the transfer of the folder containing the Joomla installation files follows the actual installation and configuration step. Connect to your domain name, for example http://mydomain.com, this is the domain linked to your hosting. You will be able to see an installation wizard, fill out the forms with the correct information, and continue to the other steps.
When the installation is complete, you will be able to verify the actual installation of Joomla! when trying to access the administration panel. So you have succeeded, you still have to secure your Joomla!.